


How to Install Your Chimney Pipe Or Stove Pipe
∙ min read
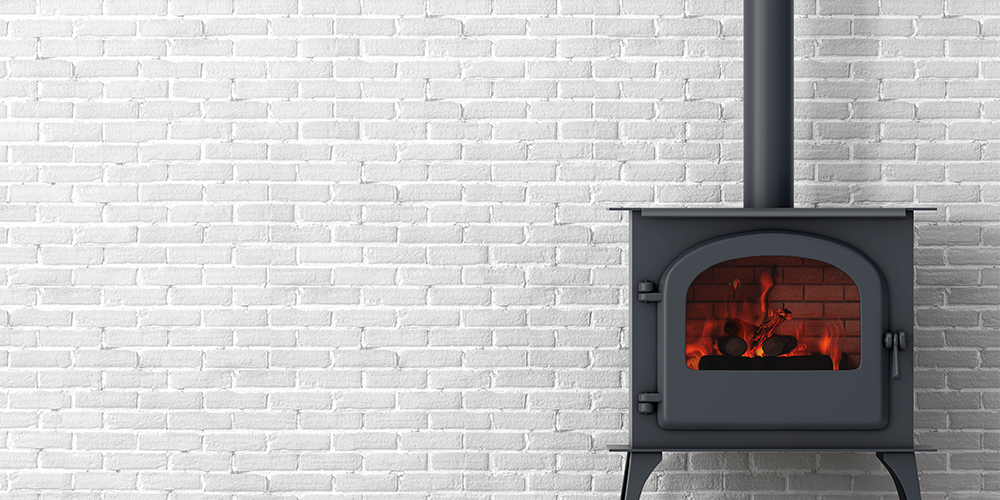
A wood-burning stove is a fantastic way to add warmth and character to your home, but they require some work. First, you need a chimney pipe that vents smoke and warm air outdoors to stay safe and comfortable. Fortunately, you can DIY this with a bit of research and the right equipment.
How To Install Your Chimney Pipe Or Stove Pipe
Chimney pipe installation requires a lot of measuring and planning, so don't expect to cut right away. Instead, have patience and double-check your work to avoid unsightly holes in the wrong place.
1. Place Your Stove
Before you can think about installing your stovepipe, you need to place your wood stove. As you pick the perfect location, keep in mind that where it sits affects how much stove pipe you'll need.
2. Measure Your Chimney
Next, measure the diameter of your stove's flue collar. This measurement will tell you the size of your new chimney pipe.
3. Plan the Wood Stove Pipe Placement
Before you can order your wood stove chimney pipe, you'll need to plan out the path from your stove to the outside. During this process, take note of the following:-
If you need offsets
-
If your chimney will go through the ceiling or wall
-
If you have a cathedral ceiling
-
If you have a second story
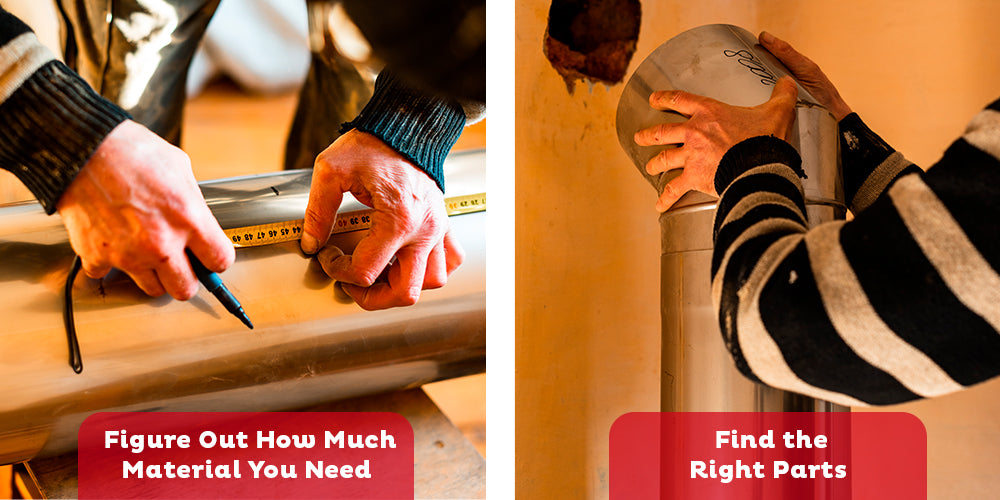
4. Figure Out How Much Material You Need
Once you have the path planned out, it's time to measure. Remember that your chimney system will be taller than the roof, so consider calculating the total length of the pipe. You can check Selkirk chimney pipes options for your project.
5. Find the Right Parts
When ordering your materials, don't forget to add support boxes and vents. You won't be able to finish your project otherwise. Duravent chimney pipes, vents or stove parts are great functional and durable products to keep in mind.
6. Cut Through the Ceiling
Now comes the fun part - cutting through your wall or ceiling. Before you do so, draw the diameter of your chimney pipe on the surface. Having a template to follow reduces the risk of mistakes and keeps the finished installation looking neat.
7. Install Support Box
If your chimney runs horizontally at any point, you'll need a support box to hold it in place. Make sure you install the support box first to avoid any accidents.
8. Waterproof the Roof Hole
Once you get to the exterior of your home, you need to waterproof the hole. To do this, install flashing under your shingles. This step is essential for preventing leaks.
9. Build Your Chimney
Now that you've prepped your home, you can start installing the pipes. If you've calculated correctly, this step should be relatively easy.
10. Install a Storm Collar
Once your chimney pipe is in place, install the storm collar where the roof and pipe meet. This is yet another step in waterproofing your roof.
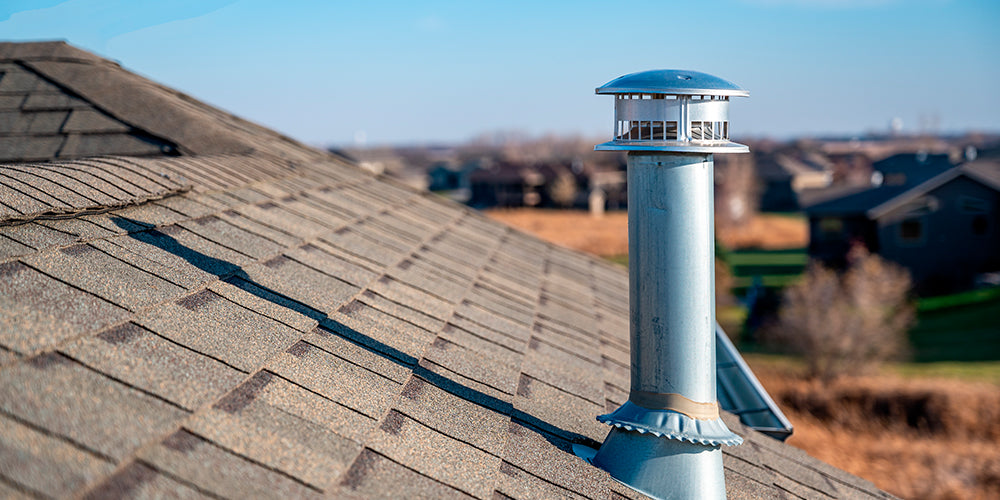
11. Place the Rain Cap
Finally, place a chimney cap on top of the woodstove pipe to complete your chimney. A chimney cap's primary function is to attach to the flue pipe to allow the exhaust gasses to exit the chimney flue and prevent any rain from entering inside the duct.
12. Test Your Wood Stove Chimney
Now that everything is in place, it's time to test it. If you see any smoke coming from the pipe or stove door, something's wrong, and you'll need to locate the issue; if you don't see any smoke, congratulations! You've completed the chimney installation.
What Are Some Tips To Keep in Mind?
As you plan, measure and cut, you may encounter some issues. If you run into a problem, don't power ahead--instead, take a moment to evaluate the situation.
Of course, an ounce of prevention is worth a pound of cure. So here are a few tips to help your chimney installation go smoothly.
Keep Your Venting System as Straight as Possible
Hot air moves up, so it's best to install your vent directly above the wood-burning stove. While you can add a few offsets where necessary, regulations restrict the maximum angle of each. Following the natural air draft also ensures you won't have any ventilation problems.Though fire may seem harmless when contained in your stove, it produces smoke full of toxic chemicals. If smoke isn't fully venting to the exterior, you risk breathing in those fumes and getting sick.
Install Along the Interior Wall
While you can install a chimney system along the outside of your wall, it's not recommended if you need the stove for heating. As smoke and hot air pass through the pipes, they heat the surrounding air, allowing you to get the most out of your fire. Unfortunately, when you build most of your chimney outside, you're missing out on that added heating element.
Observe Minimum Height Requirements
For safety, chimneys need to be at least 2 feet taller than the surrounding rooftop and 3 feet taller than the roof where they emerge. Of course, you can build more elevated than that, but your chimney may require support.

Once you decide to install a wood-burning stove or a pellet stove, you need to find the right supplier for chimney parts. You can also go ahead and shop for a chimney kit, a chimney sweep, or other products to keep your chimney clean and running.
Fortunately, here at Max Warehouse, you will find everything you need. To see what's in stock, navigate through our website. If you have any questions, feel free to call 1-800-210-0132.
Shop Your Ducting and Venting Accessories Today


