


DIY Guide To Replacing Your Bathroom and Kitchen Faucet
∙ min read
Feel like a pro by taking on a faucet replacement task. At Max Warehouse, you can find all the tools and materials you need to update your bathroom and kitchen faucets. Improve the value of your home and fix a dripping sink with this DIY guide to replacing your bathroom faucet.

Signs You Need a New Sink
The most common reason to replace a bathroom or kitchen faucet is to update the look of your home. Painting your bathroom, installing new kitchen cabinets or just replacing a towel holder can make your faucet feel out of date.
Another common reason to replace a sink is a damaged valve. An occasional drip or steady stream can be a costly issue. While you can replace a single valve, you may not be able to find one that fits an outdated faucet.
Prepare for Your Replacement Project
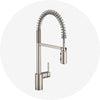
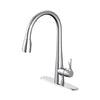
It’s time to upgrade your faucet. Start shopping and comparing stylish bathroom faucets, one handle faucets for kitchens and other options that match your interior design. Prepare everything ahead of time to avoid days without a functional sink.
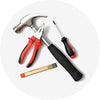
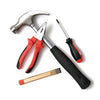
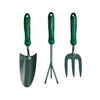
Tools
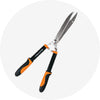
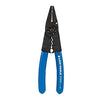
Most of the project can be handled with a single adjustable wrench. Gather a few to make sure you have the right size for the job. Here are some other items that are helpful when tackling a faucet replacement project:
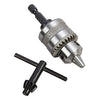
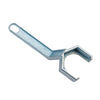
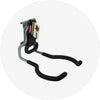
A basin wrench is a specialized tool designed to easily reach the bottom of the faucet and disconnect the supply lines. This tool isn’t always necessary, but it is very convenient. Some small bathroom vanities make it very difficult to reach the supply lines, so consider picking up a basin wrench to make the job more convenient.
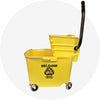
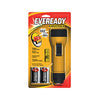
Be sure to have a bucket and rags on hand to clean the basin and catch any water. A bucket is particularly useful if you need to remove the train, but it can be used to catch water from the supply lines as well.

Materials
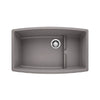
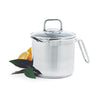
Shop for the faucet you need to replace your old bathroom fixture. Faucets have between one and three holes. A triple-hole faucet can be either 4 or 8 inches wide. You must use the exact faucet that matches your sink basin or plan on replacing the basin as well. Here are the materials necessary for replacing a bathroom sink:
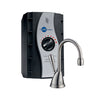
Use the same tools and materials to replace a kitchen sink. From a full chrome faucet and sprayer kit to a simple single handle faucet, the basic steps remain the same.

How To Remove and Replace a Faucet
Start by carefully removing your existing faucet. Turn off the supply lines to avoid any leaking water. The supply line valves should be directly under your sink and have quarter-turn handles to close the system. Place the bucket and rags under the supply lines, as they will still be full of water.

Remove the Faucet
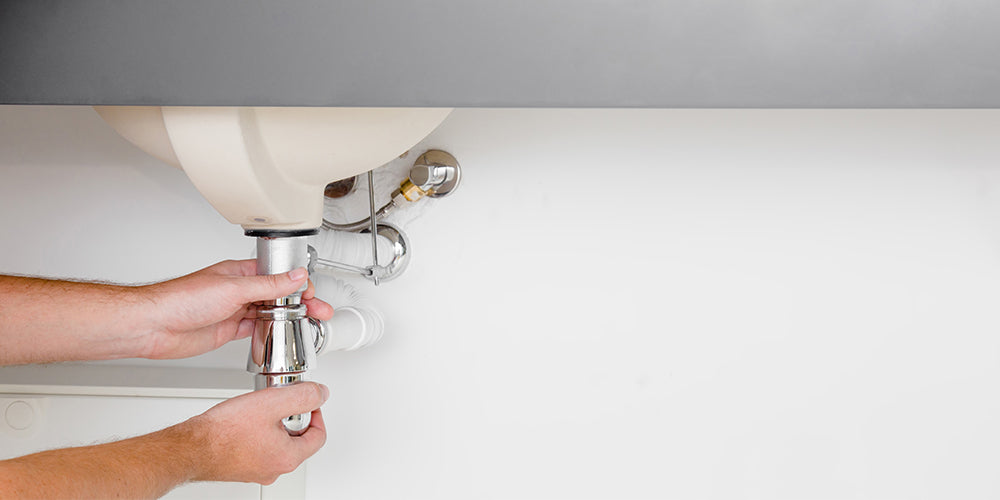
Once you have a bucket in place and the supply lines turned off, it’s time to remove your bathroom faucet. Use a basin wrench or adjustable wrench to remove the supply lines. Start slowly to ensure the valve is working properly. There will still be water in the lines, but it shouldn’t be pressurized or continue to run.
Disconnect the rod and look for the nuts under the faucet. There will be between one and four nuts holding the faucet on, depending on the style. Bathroom sinks typically have one or two, while it’s more common for kitchen sinks to have three.
You should be able to carefully remove the faucet, pulling it slowly up out of the basin from the top. Take a minute to clean the surrounding area to prepare for your new faucet.

Review New Faucet Assembly Instructions
Some single handle bathroom faucet kits come fully assembled, while others require you to assemble the valves, handle and other pieces. Reviews the owner’s manual and ensure you have the correct faucet for your sink basin. Place the gasket around the bottom of the faucet or use plumber’s putty to prevent leakage. Carefully place the faucet through the holes and reach underneath the basic to install the mounting nuts. If necessary, use a basin wrench.

Inspect Your Drain
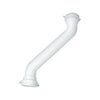
Did your faucet kit come with a new drain? Bathroom faucet drain plugs are often attached to a handle on the faucet. They also tend to match the color of the fixture, so many kits come with a replacement drain as well. Replacing your drain is a straightforward project that uses the same tools you’ve already assembled:
-
Unscrew the P-trap slip nut on the drain line, taking care to catch any water in a bucket.
-
Disconnect the tailpiece.
-
Unscrew the drain and remove both parts above and below the sink basin.
-
Clean the area.
-
Install the new drain using the drain kit and any necessary sealant.
-
Connect the drain line tailpiece and P-trap securely.
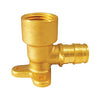
Connect Supply Lines
Once the faucet is securely in place, you can replace the water supply lines. If the lines are older or don’t reach your new faucet design, you may need replacement lines. Ensure they are properly tightened before turning the water back on. Check the entire supply and drain system for signs of leaks.
Shop for a Stylish Bathroom Faucet and Accessories Today
Follow these steps to transform your bathroom and kitchen design and feel like a true DIYer. Explore faucets and tools at Max Warehouse to add value and personal style to your bathroom.


